User Management (Help Page)
Managing User Accounts
A user with Office rights is able to organize the accounts of users and also to create new users.
List and Search Users
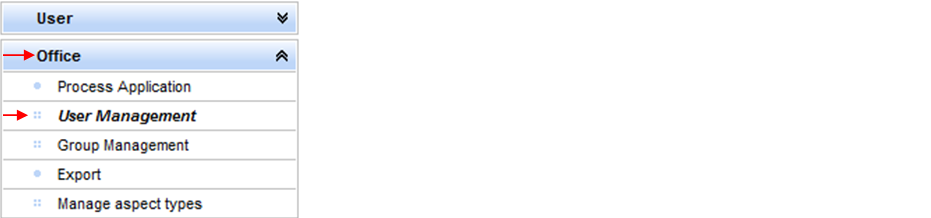
To proceed to user management, the Office user logs into the Service Portal. On the left-hand panel, the user clicks entry [User Management].
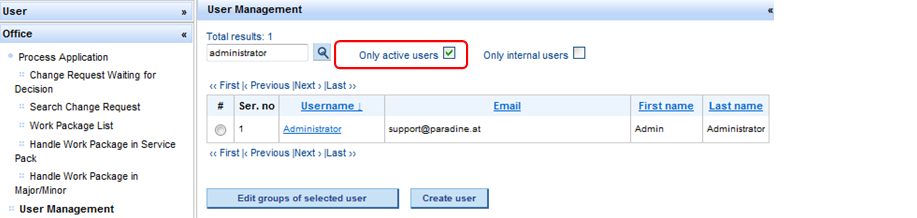
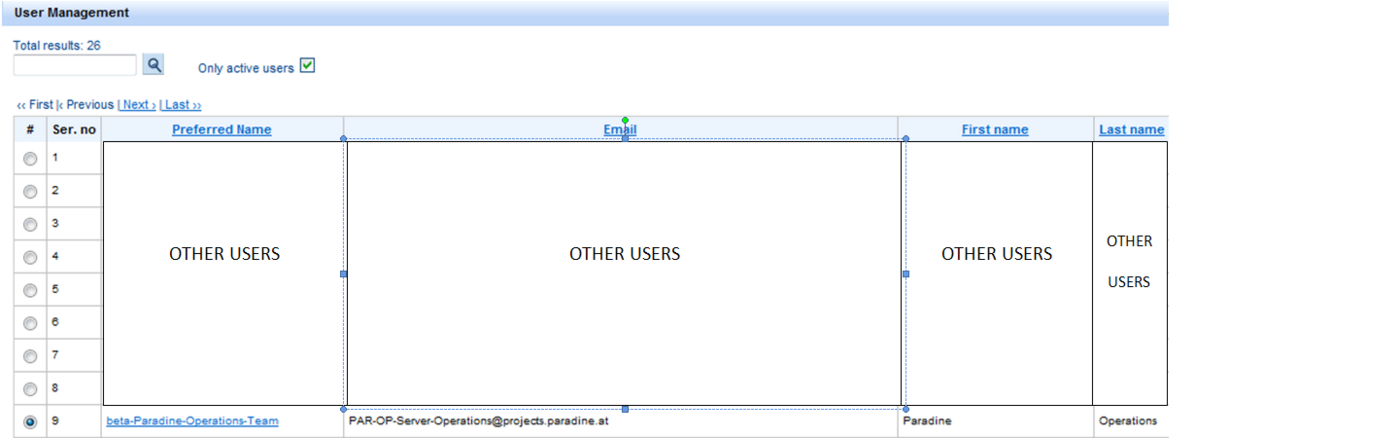
When User Management is accessed, the list of all users is displayed. The list contains active, as well as inactive users. To see only the active users, the [Only active users] checkbox must be selected.
The user can filter the list of users according to Preferred Name, Email, First Name or Last Name by clicking on the corresponding table header, which once pressed, will trigger the desired filtering.

The user can also browse the pages of the list with ‹‹ First |‹ Previous | Next › | Last ›› links.
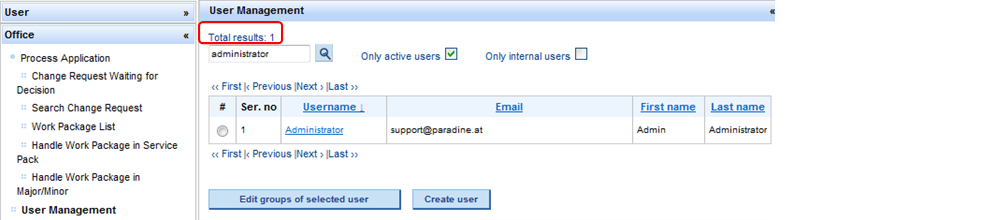
The Search function allows search for users by any of the Preferred Name, Email, First Name or Last Name. The user must type into the search input field one of the above-mentioned user identifications and click the [Search] button.
The system returns the results list.
Create User
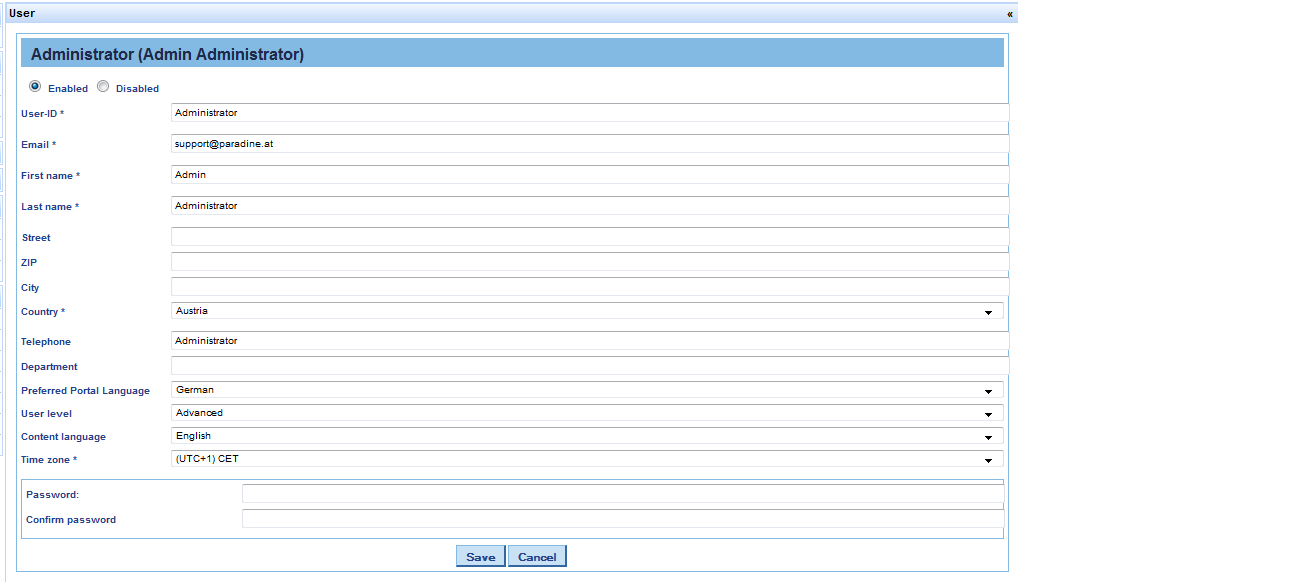
To create a new user, button [Create user] must be clicked in the user list. The system displays the user information page which must be filled with the new user’s details.
Mandatory fields, which are marked with an asterisk, must be filled in.
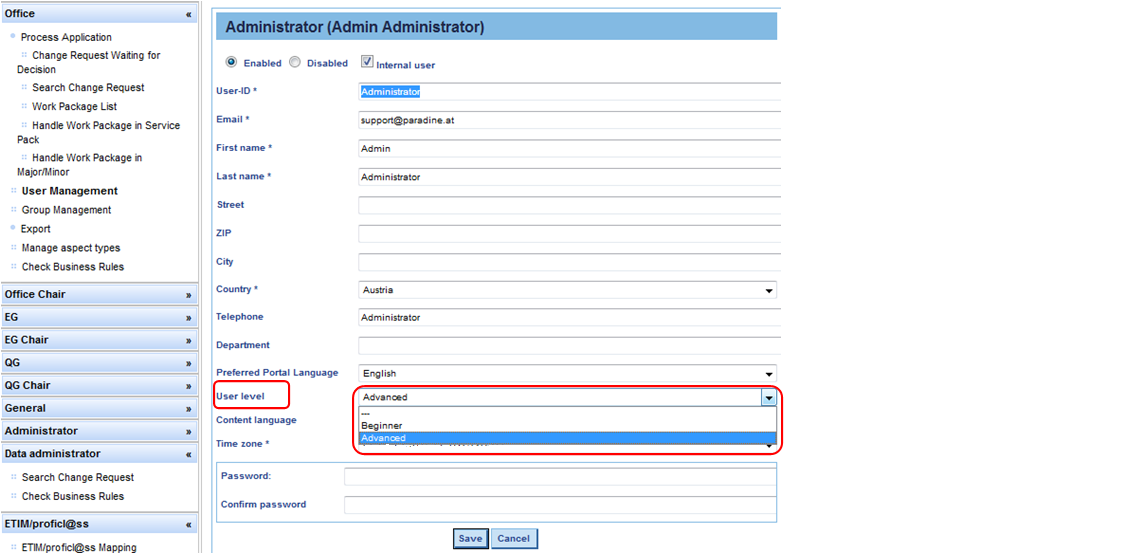
The [enabled/disabled] function serves to allow or prevent a user to log into the portal. In other words, the user manager enables or disables a user to log in. Therefore [Enabled] must be ticked to allow a user to access the Portal, or, to prevent the login of a certain user, [Disabled] must be ticked.
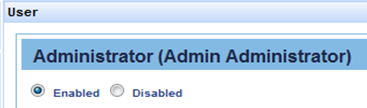
Figure 6: Enable / Disable User
User level can be established as Beginner or Advanced.

The differences between Advanced and Beginner levels reside in that for Beginner users will not have access to all features: e.g. for the Beginner user, the Application Class will not be displayed anymore in the tree view so that the user assumes properties are assigned directly to Classification Classes. This differentiation serves to gradually familiarize a user with the functionalities of the Portal. Level Advanced is assigned to users that are familiarized with complex functions.
The Portal language refers to the interface language, i.e. the language in which the menu is displayed. The Content language refers to the database contents.

Time Zone refers to local time and needs to be selected according to the user’s location.

The password must be set and confirmed. After saving the user data, the newly created user is displayed in the list of users.
Assign User to User Group
Select [Office] in main menu, then [User Management]. A newly opened window displays all active and already registered users, including the one the user has already created.
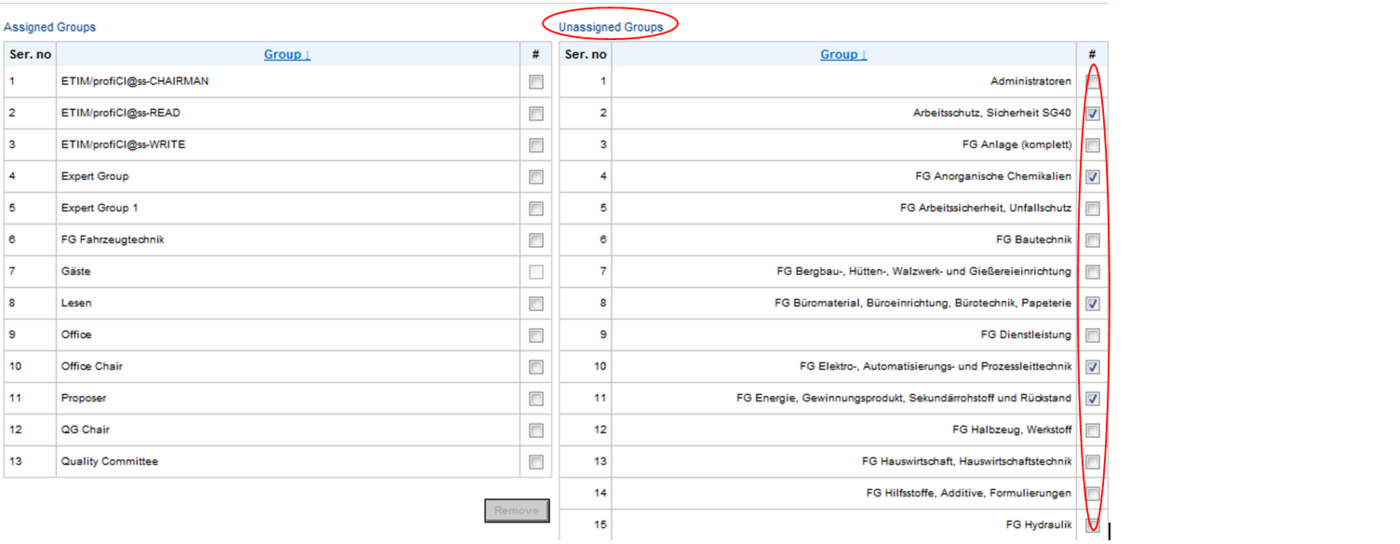
In the user list view, the user selects an already existing or the new user account to be processed and clicks on [Edit groups of selected user].
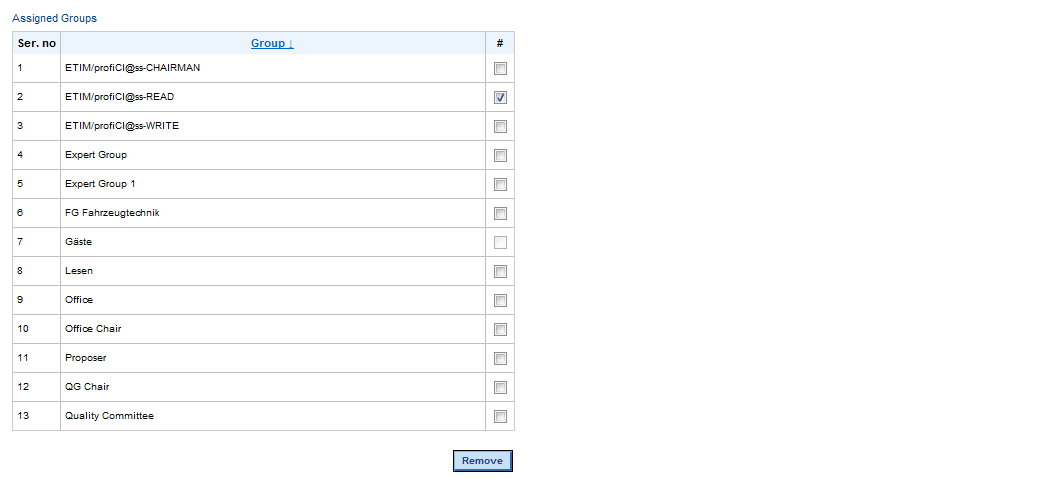
After selecting all the necessary groups, in order to assign them to the selected user, click [Add] at the bottom of the window. In order to quit the application and get back to the main menu, click [Back].
The user can also remove groups from the user account. Actually this means removing user roles to an account. [Remove] will become visible on the left-hand panel of the user account, e.g. if the user is assigned to Office Group, the Office bar will be displayed on the left-hand menu, conveying access to the user to all functions associated to the assigned group.
Edit User Details

Editing user details consists of changing user data, changing passwords, setting the portal language and content language. The Portal language refers to the interface language, i.e. the language in which the menu is displayed. The content language refers to the database contents.
This is accomplished in the user list by clicking the user’s preferred name from the list of users.
All changes are input and saved in the user details view. By pressing [Save], the user account is updated.