Access Control
ECLASS Extension Control - Overview
Access control functionality allows users having the role Structure Element (SE) Editor assigned to:
· Set restrictions regarding visibility of SEs for certain groups/group members/system · Set restrictions regarding selectability (editability) of SEs for certain groups/group members/system · Define ownership (i.e. Owner Groups) of SEs.
Restrictions may be applied to all types of SEs. Restrictions are inherited downwards though all the Classification Class (CC) levels up to the Application Class (AC). Restrictions are NOT inherited below the AC.
If a certain element used in a segment (SG) (e.g. a property) is shared by other SGs, the restriction will apply in all the SGs for that element. This means that the restriction is set for the element itself, not for the usage.
The following information is displayed to the Structure Element Editor:
· Owner Group (if set) · Groups to which restriction applies · Group Chairman of restricted group with name and e-mail address · All members of the owner group with specification Active
Manage Owner Group
Set / Change Owner Group
For each SE only one Owner Group is allowed.
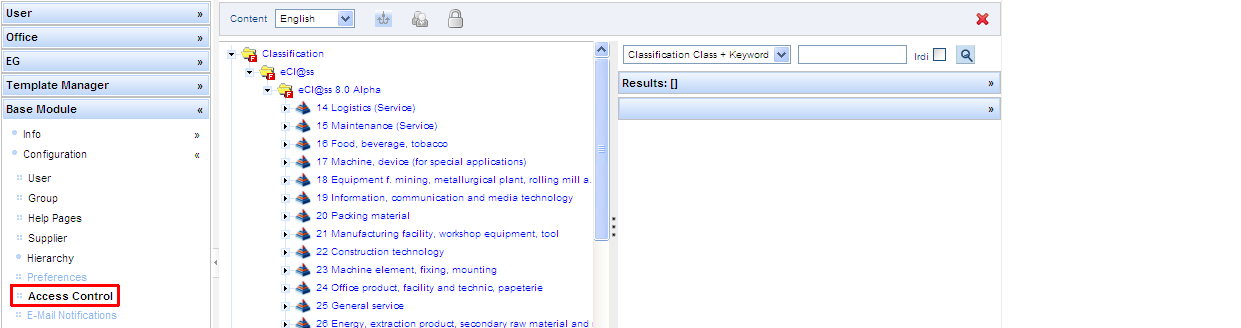
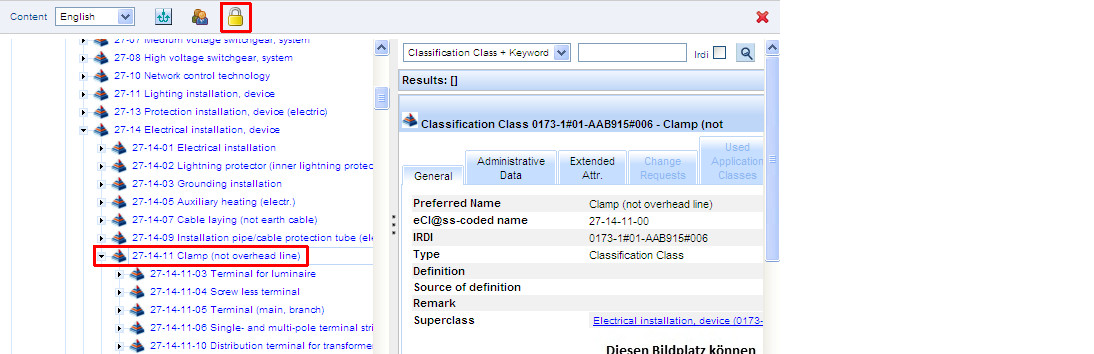
Step 1: Select menu entry [Base Module – Access Control]
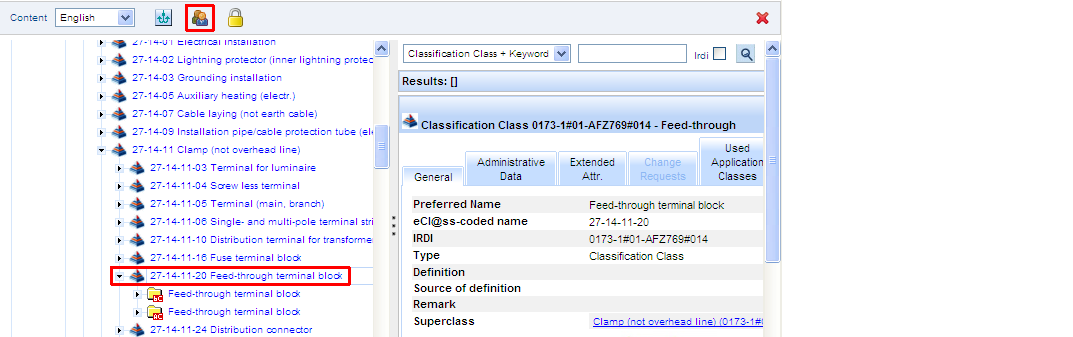
Step 2: Select SE for which Owner Group needs to be set/changed and press Manage Owner Group button
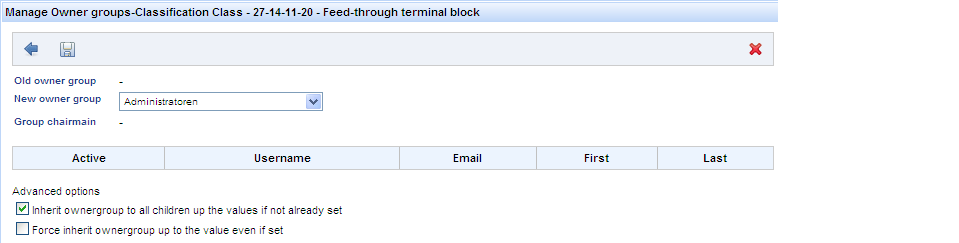
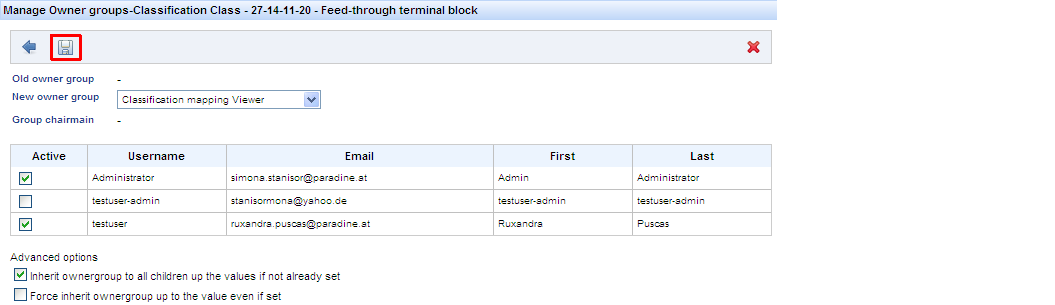
Step 3: Perform desired actions in Set Owner Group dialog
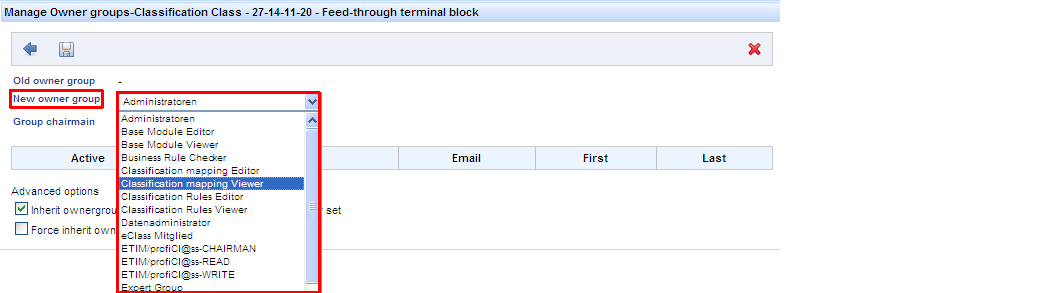
Step 3.1: Chose new Owner Group from respective drop-down box
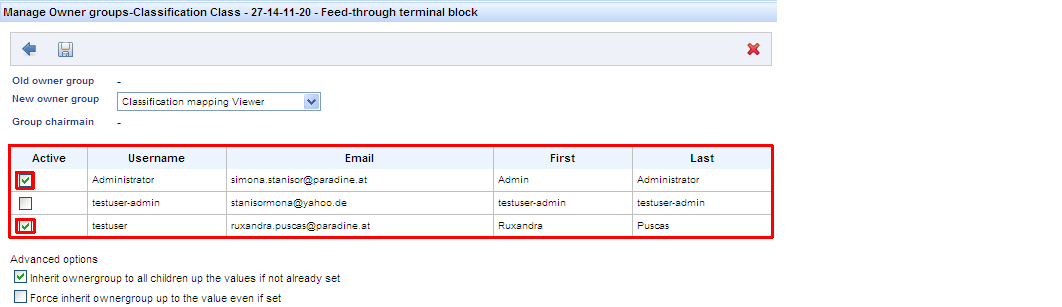
Step 3.2: Chose from displayed list of users that are active.
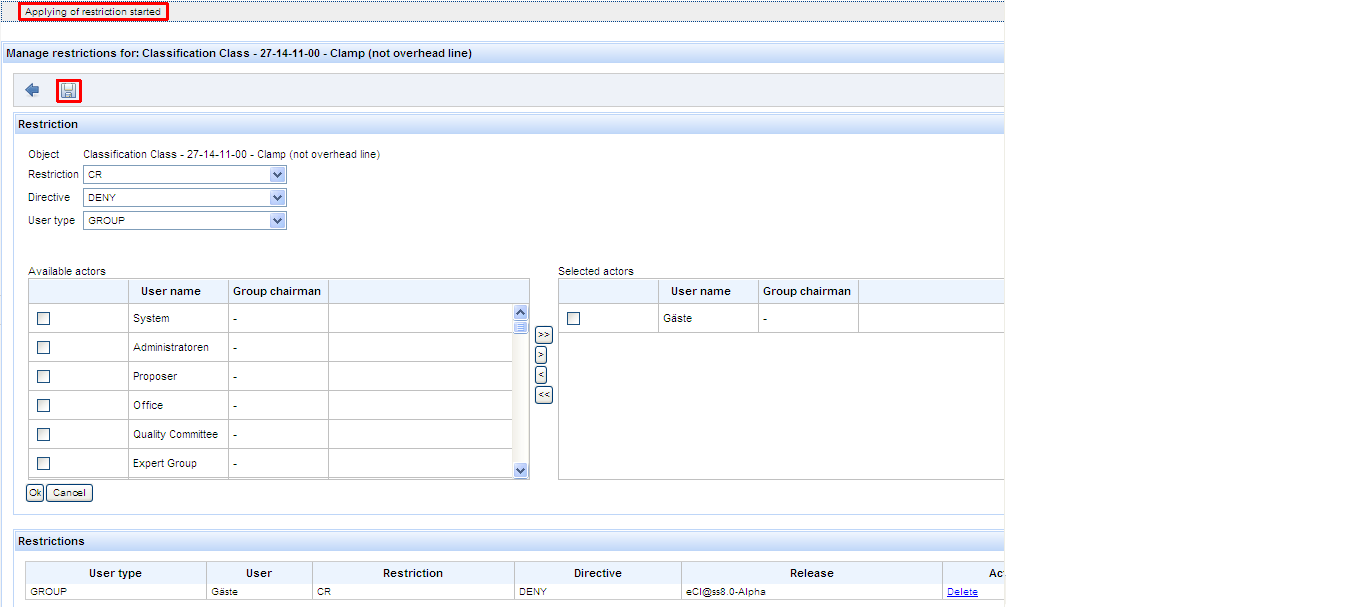
Step 5: Press SAVE button. System displays message that applying of restriction started.
NOTE:
1. Only users selected as active within the owner group will be notified when their group is impacted by a change. 2. Active/Passive settings are NOT propagated to the sub-elements.
Step 3.3: Select desired advanced options
· Inherit ownergroup to all children up to the values if not already set (default setting) – by choosing this option it means that only the children SEs having NO owner group set will be assigned the new owner group. The other children already having an owner group set will not be affected.
· Force change ownership up to the values even if set – by choosing this option it means that all children SEs will be assigned the new owner group, regardless if they already have another one set. These other owner groups will be overwritten by the new one.
· If no advanced option is set, the owner group is set only locally to the selected structure element
Step 3.4: After having performed all desired selections press SAVE button
System displays message “Applying of owner group started.”.
View Owner Group
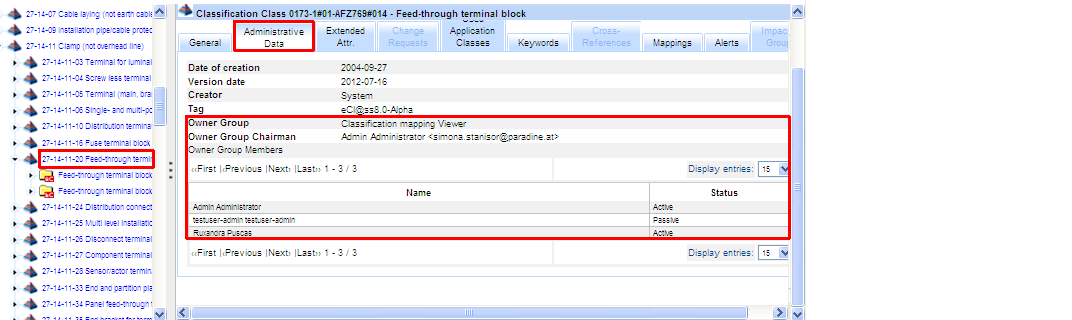
Select SE whose Owner Group needs to be viewed. Select TAB “Administrative Data”:
View Impacted Group

In order to view Impacted Group of a SE, select respective SE and click tab [Impacted Groups]:
Notify Impacted Group
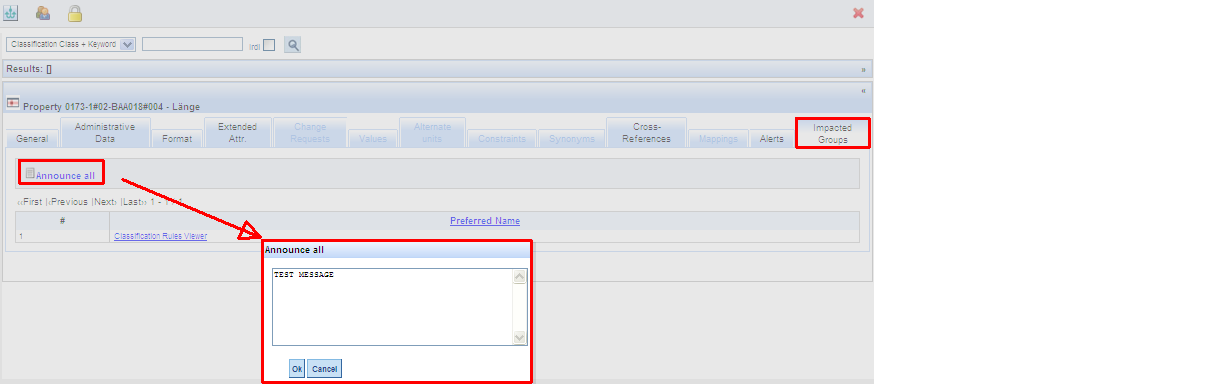
Step 1: Select desired structure element
Step 2: Select TAB Impacted Groups
Step 3: Press button [Announce all]
Step 4: Fill in desired message to be received by Impacted Group(s) and press OK button
Manage Restrictions
Step 1: Select menu entry [Base Module – Access Control]
Step 2: Select SE for which restrictions need to be set and press Manage Restrictions button
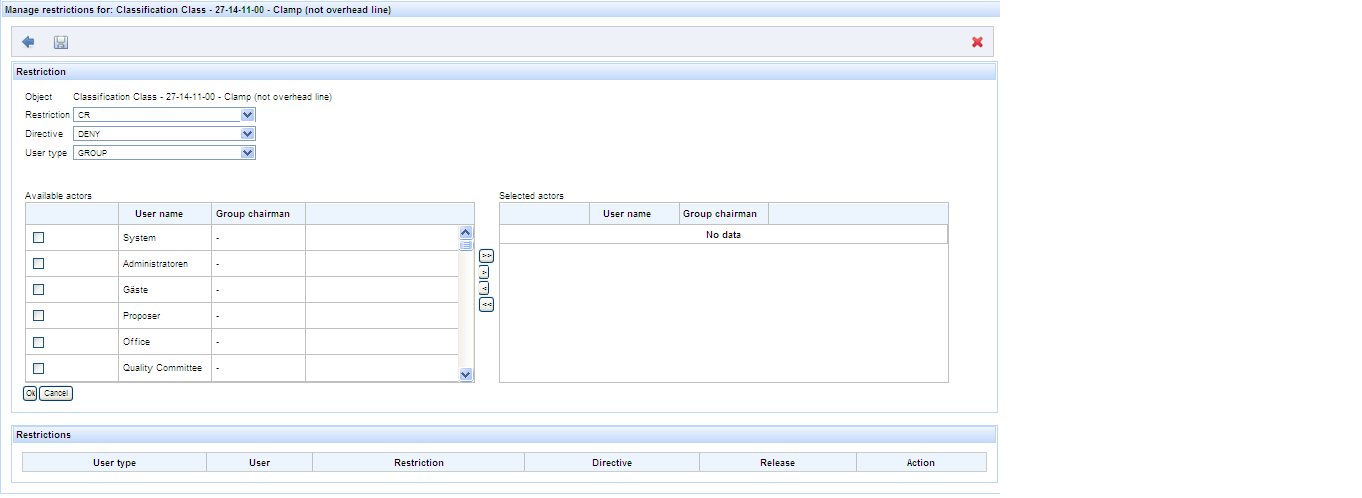
Step 3: Select desired restriction type / directive and the user(s) / group(s) for which selected restriction will be applied (detailed description of restriction and user types can be found in the following chapters)
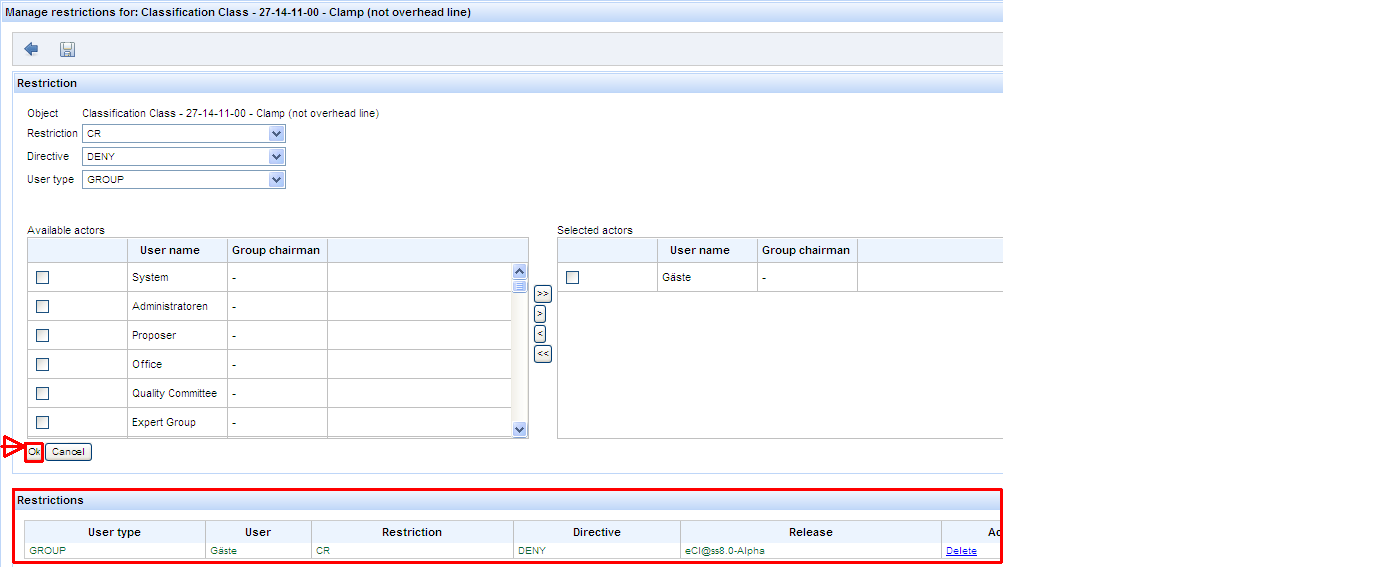
Step 4: Press OK button. System will synthesize performed selections in table „Restrictions“
Restriction Types
Restriction per Structure Element Visibility

In order to allow visibility of SE and its children, select restriction type [Visibility] and directive [Allow] for the desired User type (for User type selection please see chapter below). By making this selection the respective SE will be visible for the selected Users.

In order NOT to allow visibility of SE and its children, select restriction type [Visibility] and directive [Deny] for the desired User type (for User type selection please see chapter below). By making this selection the respective SE will NOT be visible for the selected Users.
Restriction per Change Request

In order to allow creation of CRs on selected SE and its children, select restriction type [CR] and directive [Allow] for the desired User type (for User type selection please see chapter below). By making this selection CR creation will be allowed on the respective SE for the selected Users.
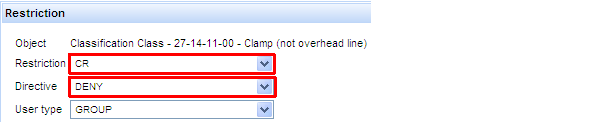
In order to NOT allow creation of CRs on selected SE and its children, select restriction type [CR] and directive [Deny] for the desired User type (for User type selection please see chapter below). By making this selection CR creation will NOT be allowed on the respective SE for the selected Users.
Restriction per Export

In order to allow export of SE and its children, select restriction type [Export] and directive [Allow] for the desired User type (for User type selection please see chapter below). By making this selection it will be possible to export the respective SE by the selected Users.
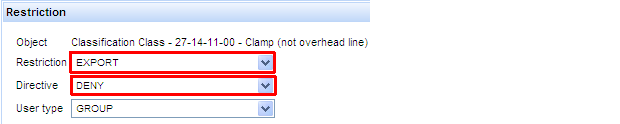
In order to NOT allow export of SE and its children, select restriction type [Export] and directive [Deny] for the desired User type (for User type selection please see chapter below). By making this selection it will NOT be possible to export the respective SE by the selected Users.
User Types for which Restrictions are set
Restrictions types described above may be set for the following types of Users.
Restriction per System
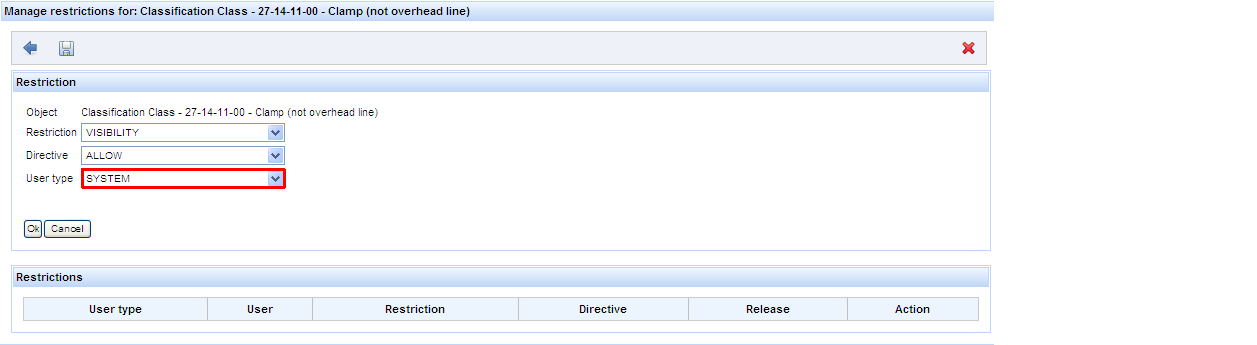
In order to set a restriction per system select [System] under User type. This means that respective restriction will be set for all users in the system, regardless of the group(s) they belong to.
Restriction per Group
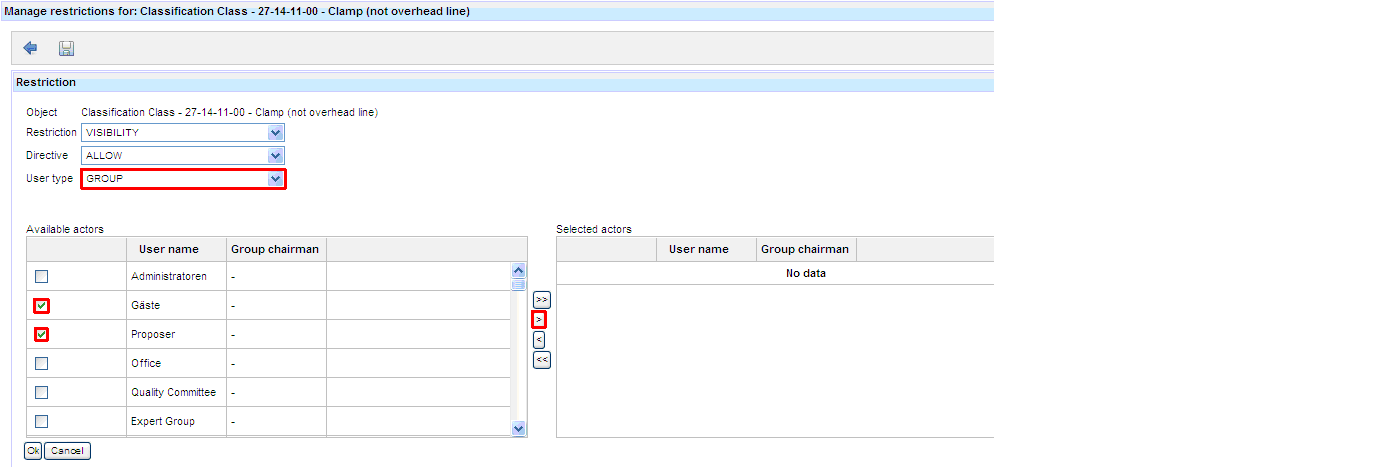
Step 1: In order to set a restriction per group, please select [Group] under User type.
Step 2: Check the desired groups for which restriction needs to be set and press the [>] button.
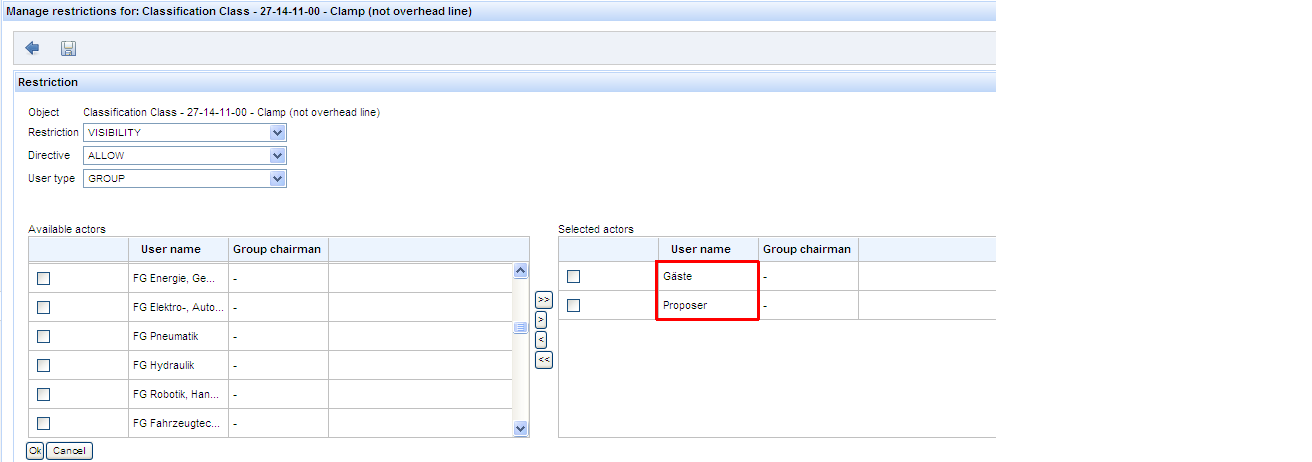
This means that respective restriction will be set ONLY for the selected groups.
Restriction per User
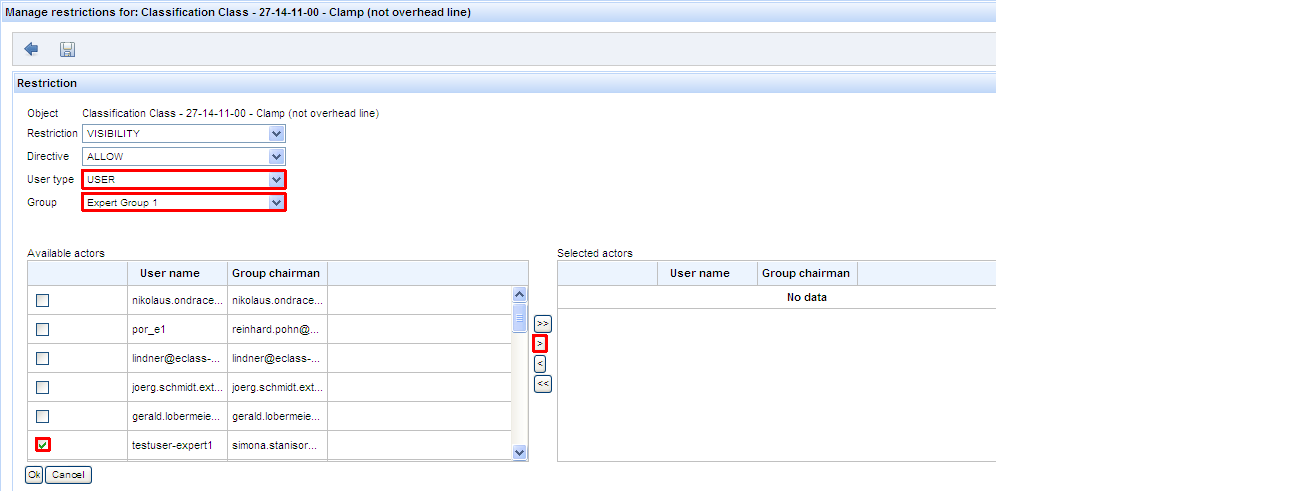
Step 1: In order to set a restriction per group select [User] under User type.
Step 2: Select desired group from displayed combo-box.
Step 3: Check the desired groups for which restriction needs to be set and press the [>] button.
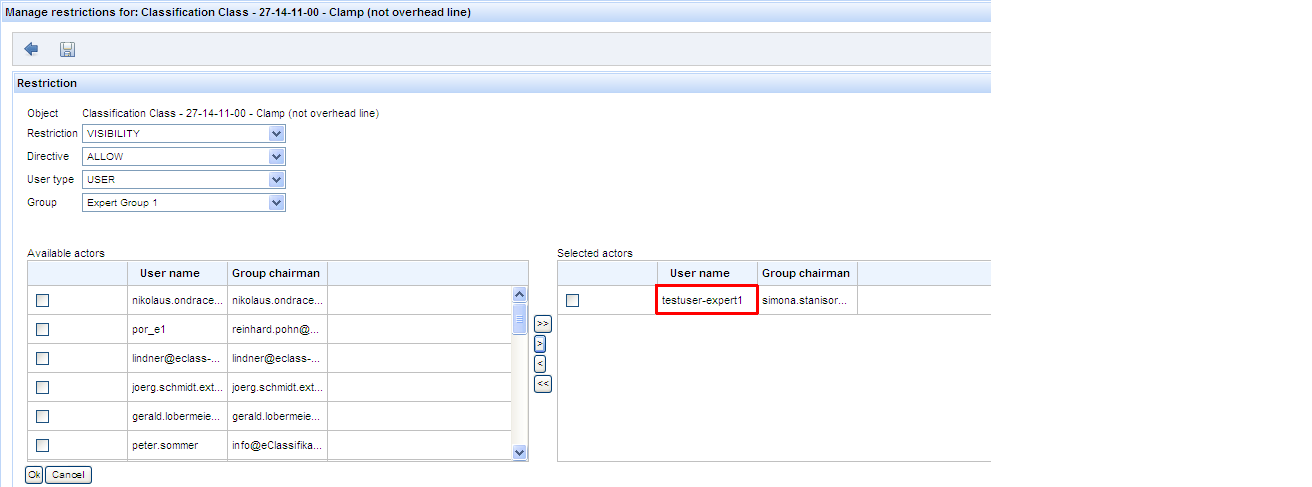
This means that respective restriction will be set ONLY for the selected user(s).